10 min read
How to Read Handwritten Notes: A Practical Step-by-Step Guide
Learn how to read handwritten notes and convert handwriting to text by improving the image, decoding repeated letter shapes, and checking an OCR draft.
On this page
To read handwritten notes, start with recognizable words, use them to learn the writer's letter shapes, and check difficult words against the sentence around them. Improve a weak photo before zooming in, and mark uncertain text instead of forcing a guess. OCR can provide a first draft, but important details should still be checked against the original. If you plan to convert handwritten notes to text, first make sure the source image preserves enough detail to distinguish the writer's strokes.
Prepare handwritten notes for clearer reading
Before converting handwritten notes, crop distracting background, straighten the image, correct perspective, and use even light. A modest contrast adjustment can make handwritten text clearer, but strong filters may erase dots and thin strokes. Keep the original image for comparison.
| Problem | Adjustment | What to avoid |
|---|---|---|
| Blurred handwritten notes | Retake the photo in brighter light and hold the camera parallel to the page. | Artificial sharpening that creates false edges around letters. |
| Faint handwritten text | Increase contrast gently while keeping the paper texture visible. | Filters that remove thin strokes, dots, and punctuation. |
| Small handwriting | Use the original full-resolution image and zoom by line. | Reading from a compressed screenshot or messaging-app preview. |
Decode the writer's patterns
When reading handwritten notes, the goal is not to recognize perfect alphabet forms. It is to learn how this writer forms letters. Find one word you know, then compare its opening, joins, and ending with similar shapes elsewhere. Pay particular attention to dots and repeated short strokes, which can make in, ri, m, and nu look alike.
Word endings are often more consistent than isolated letters. A writer may finish words such as -ing, -tion, or -edwith the same movement every time. Once an ending is confirmed in a clear word, use it to narrow down longer words elsewhere. Apply the same method to capital letters found in headings, names, and the beginnings of sentences.
Use context from the notes without guessing
Context narrows the possibilities, but it should confirm the writing—not replace it. Test a possible word against its length, first and last letters, and repeated shapes. Preserve meaningful layout too: indentation may mark a subtopic, while an arrow may connect a cause and effect.
Avoid silent guesses. If a word remains uncertain, record the best-supported letters and mark the gap—for example, trans[?]tion. An explicit uncertainty is easier to revisit than a confident-looking word that was invented by context alone.
Handle shorthand, formulas, and symbols separately
Handwritten notes often use consistent personal abbreviations. Build a small glossary as you confirm them. Review formulas and diagrams visually rather than as ordinary text, and keep a cropped image when their exact notation or spatial relationship matters.
What to do when a word is still unreadable
If one word remains unclear, isolate the uncertainty instead of rereading the entire page. Write down the letters you can support, note the number of missing strokes, and compare the beginning and ending with confirmed words from the same writer. Read the sentence aloud with a blank to test its grammar, then return to the image and check whether the likely word actually matches the marks on the page.
- Compare the word with repeated terms elsewhere in the notes.
- Look for dots, crossed strokes, descenders, and capital-letter height.
- Check the line above and below in case an arrow or label supplies context.
- Keep a bracketed gap when more than one reading remains possible.
A marked uncertainty is useful information. It allows you—or another reader—to revisit the exact problem later without mistaking a plausible guess for confirmed text. This matters most for names, measurements, deadlines, quotations, and any detail that could change the meaning of the notes.
How to convert handwritten notes step by step
The following workflow reflects the current handwritten notes to text tool. It takes you from upload to a reviewable transcription in three steps.
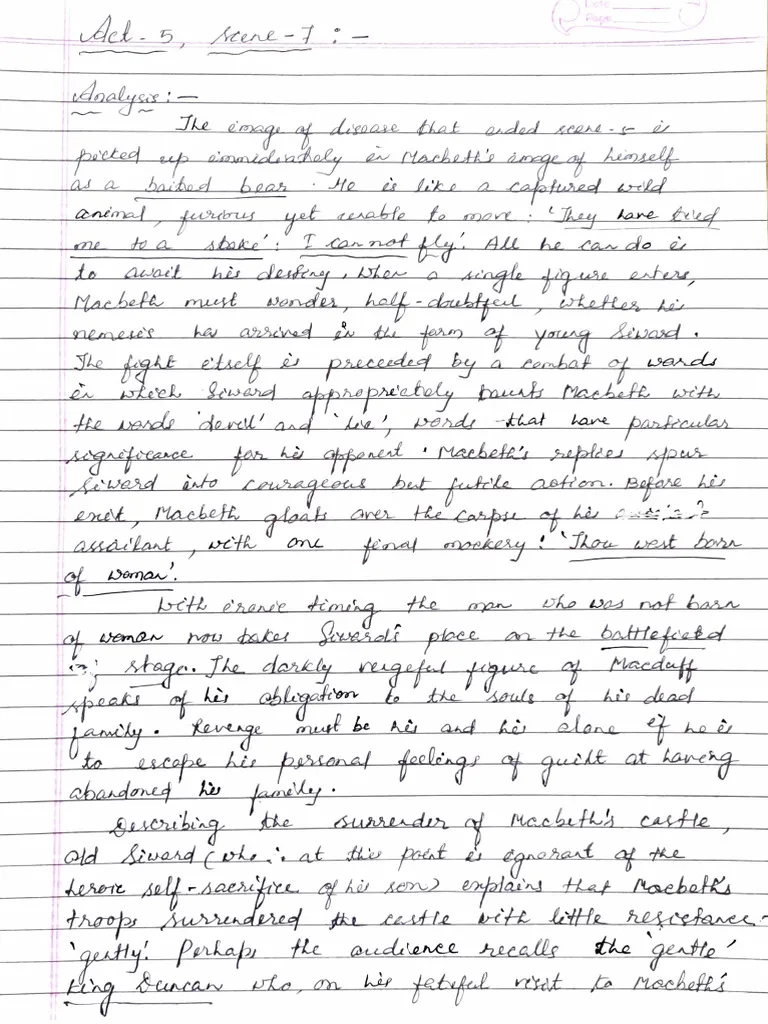
1. Add your handwritten notes
Open the tool and drag a file into the upload area, or select browse files. It accepts PDF, JPG, PNG, WebP, and HEIC. Use separate images for photographed pages or one PDF for a scanned document. A PDF must be uploaded alone and cannot be mixed with images in the same job.
2. Convert the notes and wait for processing
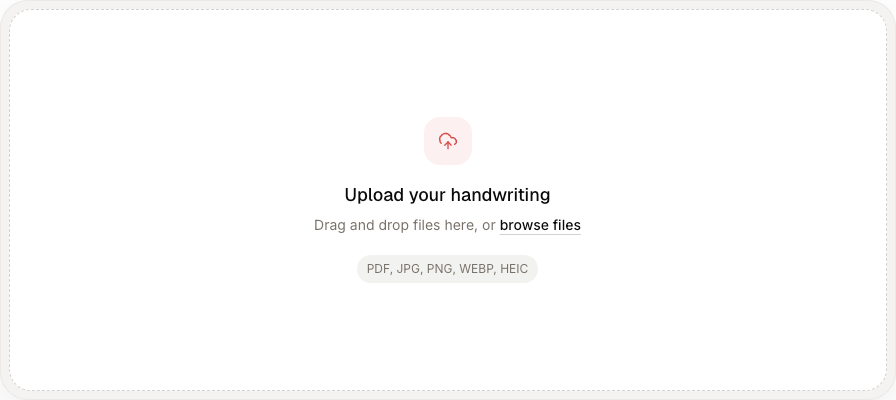
After the upload finishes, the handwritten notes appear below the dropzone with a filename and preview. Remove the file if it is incorrect. When everything is ready, click Convert. The button is unavailable while an image is still uploading. The result workspace then opens with the original handwritten page on the left and conversion progress on the right. Keep the page open until the transcription replaces the processing state.
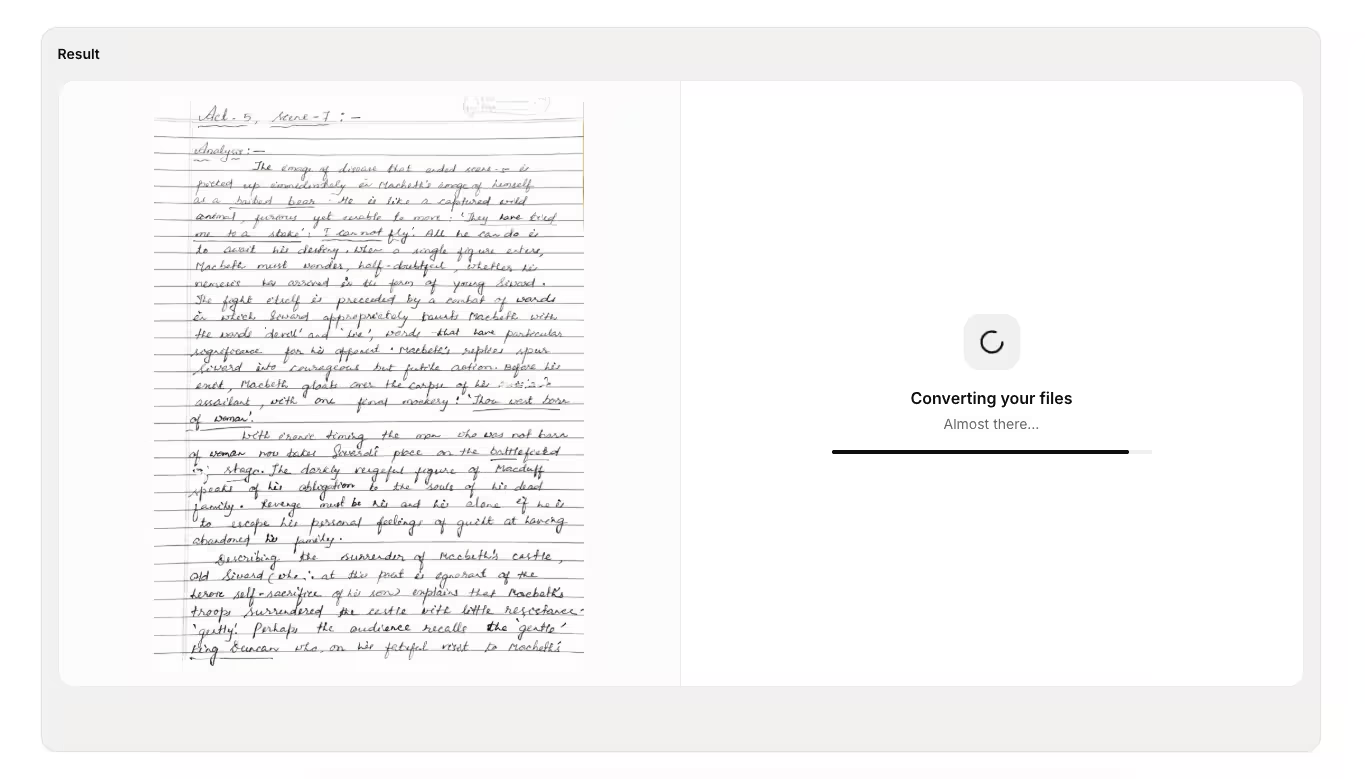
3. Compare the handwriting and converted text
When processing finishes, compare the handwritten page on the left with the converted text on the right. For multiple pages, use the arrows or page number control. Use Download for TXT, Word, or Markdown; table results also offer Excel and CSV. Multi-page jobs use Download All.
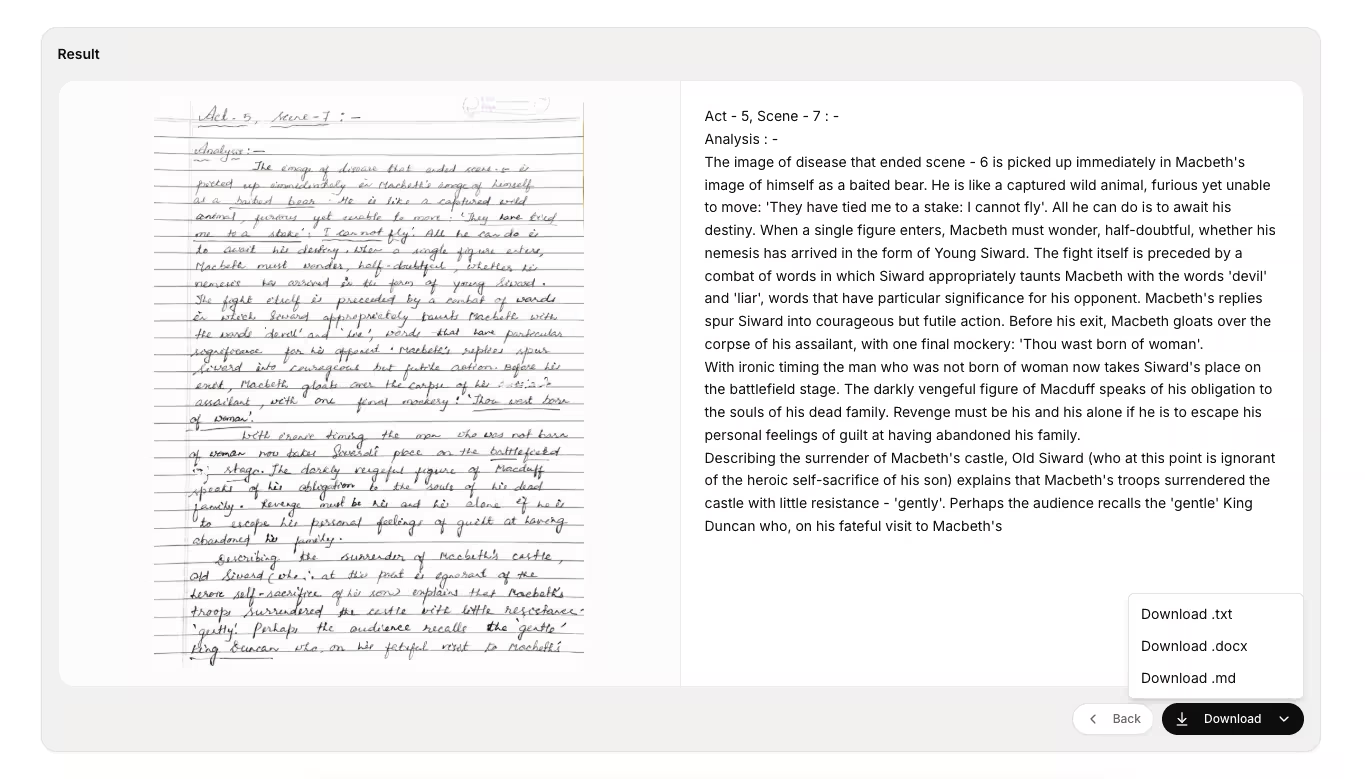
OCR works best as a drafting step. Let it capture the easy text, then verify subject-specific vocabulary and important details against the original page before editing the download in another application.
Organize the converted text
Converted text is most useful when it preserves the organization of the handwritten notes. Keep headings as headings, convert indentation into nested lists, and label diagrams or arrows that cannot be represented accurately as plain text. For several pages, keep page breaks or filenames so you can return to the correct handwritten source.
Once the converted text is verified, move it into the tool that matches your goal. Handwritten study notes can become an outline or flashcards; meeting notes can become decisions and action items; research notes can be tagged and searched. Keep the original image beside the edited text so later changes remain traceable to the handwriting.
- Correct names, numbers, dates, units, and technical terms first.
- Preserve headings, lists, and page order before reorganizing ideas.
- Mark unresolved words instead of silently replacing them.
- Store the source image with the final editable document.
Ready to digitize a page?
Convert handwritten notes to text
Upload a photo, scan, or PDF and compare the transcription with the original page before downloading it.
Frequently asked questions
- How do I convert handwritten notes to text?
Upload a PDF, JPG, PNG, WebP, or HEIC file, wait for it to appear in the upload list, and select Convert. Cursive Reader displays the original handwriting beside the converted text for review.
- Can I upload several pages of handwritten notes?
Yes. You can select supported images together, subject to the page limit on your plan. A PDF must be uploaded by itself, so do not combine a PDF with separate image files in the same upload.
- Can it convert both cursive and print notes to text?
Yes. Cursive Reader can process connected cursive, print handwriting, and handwritten notes that mix both styles. Clear spacing and a sharp source image help preserve the writer’s letter shapes.
- How can I get a clearer transcription?
Photograph the page straight on in even light, keep the full lines visible, and use the original high-resolution file. Gentle contrast can help faint ink, but avoid filters that remove thin strokes.
- How do I review a multi-page result?
Use the page controls above the result to move backward or forward, or enter a page number directly. Each page keeps its own original image and transcription so you can review them together.
- Which download formats are available?
Regular transcriptions can be downloaded as TXT, Word (.docx), or Markdown. When the result contains a recognized table, Excel and CSV options are also available. Multi-page jobs can be downloaded together.